July 26, 2021
If you’ve ever seen a landing page or something that looked like an offshoot of a company website online, then you already have a feel for what Linkboards are all about. It’s one of the quickest and best ways to get your branded short links created in Linkhawk, in front of an audience, and put to good use.
So, before you begin with your first Linkboard, here’s a quick guide on what they are, how to build them, and what they can do for your business today!
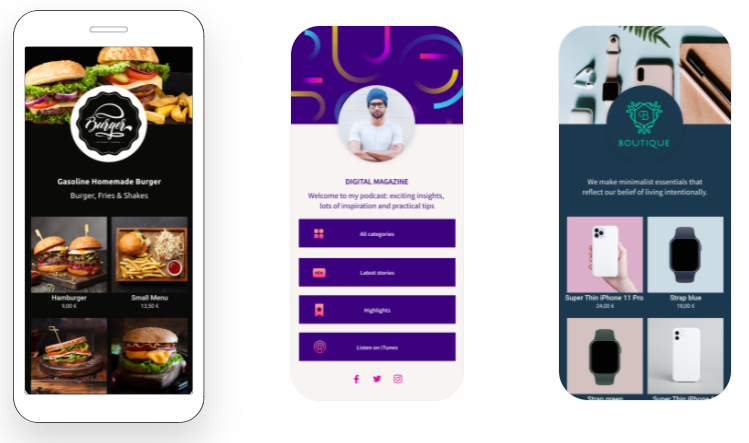
Linkboards are a collection of customized and branded links, represented by visuals, in an easy-to-digest landing page. The Linkhawk system gives a user the ability to attractive and appealing pages in just minutes.
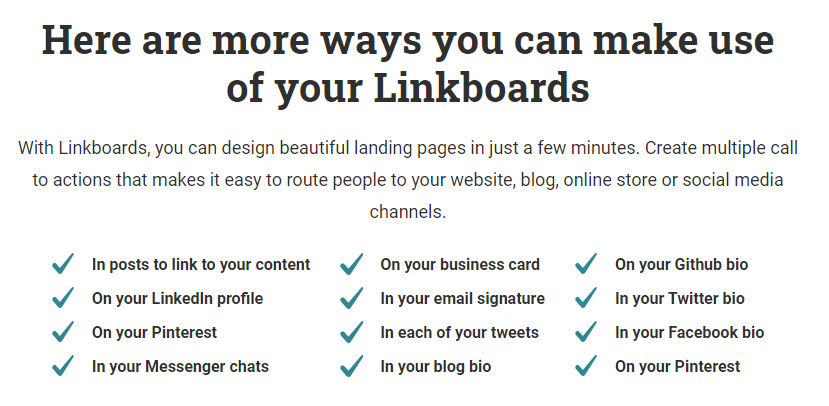
A brand can also create multiple calls to action (CTAs) on the same linkboard, saving time and streamlining messaging. This makes it a whole lot easier to route customers and prospects to whatever digital space you need them in, be it your website, blog, ecommerce shop, social media channel, etc.
Here’s a step-by-step process for building your first linkboard:
Once a linkboard is created, it can easily be viewed, updated, and edited straight from the dashboard.
Click here for more information on why adding a Facebook Pixel ID is a good idea.

If you’re in a hurry, there’s no need to add your brand colors, font, and logo to anything, but it’s highly recommended.
Branding your linkboards draws additional attention to your brand, makes your products directly visible, and creates a professional, uniform look in line with your online presence.
This option to customize linkboards helps to align your own ideas and requirements, with a corporate identity.
Branding anything you do online instills more trust and creates a sense of continuity, no matter where users encounter your business in the digital space. It provides a better user flow for your customers, all while strengthening your brand and helping you to grow your business.
 Editing a Linkboard
Once a linkboard has been created, a business may need to go back on occasion to tweak things. This is super easy to accomplish as a Linkboard can be edited at any time.
Once created, however, Linkboards can never be deleted and they do not expire.
To edit a linkboard:
You can make an existing linkboard on-brand by adding a header image and profile picture or logo.
To do so, first, log into your Linkhawk account.
Then complete the following steps:
Your linkboard has now been updated with a new on-brand look.
 If you have any other questions about creating a Linkboard in the Linkhawk system, feel free to reach out. We love helping people learn our product better!
Share this article